
Now you have created your initial page, it is time to start adding the dynamic content from the database. While it is possible to hard code content into your pages, why would you use WordPress if you are hard coding?
The WordPress database hold a huge amount of information about your website. Many site wide core features can be called with <?php bloginfo(); ?>
Open up your header.php file and update the header div to include the blog info details.
<div class="header">


<h1 class="site-title"><?php bloginfo( 'name' ); ?></h1>


 <?php bloginfo( 'description' ); ?>
</div>


<!-- /.header -->
You can make the site-title a hyperlink to link back to your home page by changing the header to:
<div class="header">


<h1 class="site-title"><a href="<?php echo esc_url( home_url( '/' ) ); ?>" rel="home"><?php bloginfo( 'name' ); ?></a></h1>


 <?php bloginfo( 'description' ); ?>
</div>


<!-- /.header -->
Next step is to replace the static menu you created earlier with the dynamic WordPress Menu. You can create a new menu in your Theme setting in the Dashboard, but first you need to register it.
Head back to functions.php and add the following code:
register_nav_menus(
array(
'primary' => __( 'Primary Menu', 'JadeLoveAuctions' ),
)
);
This registers the menu. I always use the register_nav_menus function rather than register_nav_menu in case I decide to add a secondary menu later in my development. You also need to update your header.php file to include the generated menu. If you haven’t already done so, update your stylesheet to give you your styled navigation menu.
The important thing with WordPress navigation menu design is to ensure that you are flexible. You may know what you want now, but if you are designing for a clinet you cannot tell what they will ask for in the next round of development. Plan for drop down menu’s – ensure your design will look OK with multiple levels of drop down menu. Also think about mobile friendly menu’s. What will your menu look like on a tablet, a mobile phone or other device. Have you planned for breakpoints? Does your design look OK on all the devices you own.
When planning my navigation menu, I try to go for the mobile-first approach. Meaning that my menu looks great on a mobile device, and I add breakpoints for larger screen sizes:
@media screen and (min-width: 699px)
I have recently discovered flexbox – a wonderful utility that makes creating content in a fluid way easier. I now create a horizontal stacking menu, and then simple use the breakpoint to add the flex styling.

Now I have a beautiful menu that changes automatically depending on the screen size.
The next step is actually getting the blog content from the database. Do you remember those templates we made in the last tutorial? Header.php, sidebar.php and footer.php? We are going to create a new one called content.php. Open a blank php file and save it. You will need to create a new folder in your theme called template-parts, and save content.php inside this folder. Add the standard header information to the top of this file and copy the post information from index. Your content.php file should look like this:
<?php /** * JadeLoveAuctions default content * * @package JadeResources * @since JadeResources 1.0 */ ?>
<div class="blog-post">
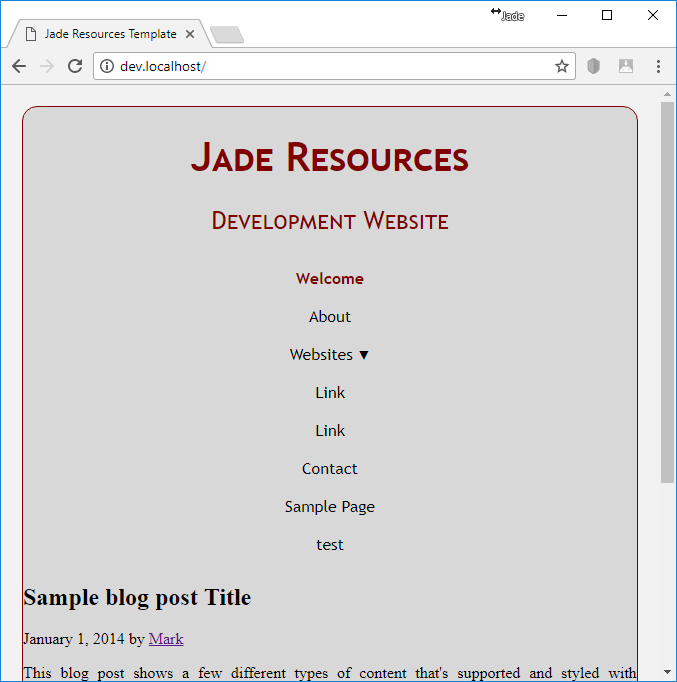
<h2 class="blog-post-title">Sample blog post</h2>
January 1, 2014 by <a href="#">Mark</a>
This blog post shows a few different types of content that's supported and styled with Bootstrap. Basic typography, images, and code are all supported.
<hr>
<!-- the rest of the content -->
</div>
<!-- /.blog-post -->{
You now need to update index.php to call the content from this file. update index.php to include the WordPress loop. Read the codex for information on the WordPress loop. My index page now looks like this:
<div id="primary" class="content-area">
<main id="main" class="site-main" role="main">

<?php if ( have_posts() ) : ?>

<?php
// Start the loop.
while ( have_posts() ) : the_post();

/*
* Include the Post-Format-specific template for the content.
* If you want to override this in a child theme, then include a file
* called content-___.php (where ___ is the Post Format name) and that will be used instead.
*/
get_template_part( 'template-parts/content', get_post_format() );

// End the loop.
endwhile;

// If no content, include the "No posts found" template.
else :


<?php esc_html_e( 'Sorry, no posts matched your criteria.' ); ?>


endif;
?>

</main><!-- .site-main -->
</div>

<!-- .content-area -->
I have added a <div> and a <main> content area to help the layout of the site. I will explain this later on. Those of you who have ready the WordPress Codex will notice my code is not exactly as it was on the Codex. This is because we will add some code later for our front page if it is added in WordPress. The WordPress default Twenty themes have helped me with this, and you will notice my code is nearly identical to those – why reinvent the wheel?
This is where things get interesting. We can actually pull information and content from the database.
To display the title of the blog post you need to use the the_title() function. The code below creates the title of the post as a hyperlink. This is beacuse this page is likely to list all the blog posts in a paginated list.