
Yes, there are tens, if not more, of tutorials on how to setup a raspberry pi as a web server. The raspberry pi foundation even have a detailed tutorial. However, I have found that I tend to look at several websites when settings up my webservers, so I wanted to refine everything into one place.
First start off with a fresh install of raspbian – I always use lite on web servers as I don’t need all the extra software.
Run the normal update and config with
sudo apt update
sudo apt upgrade
sudo raspi-config
and set a static IP address by editing /etc/dhcpcd.conf and inputting the following with the appropriate settings for your setup
interface eth0
       static ip_address=xxx.xxx.xxx.xxx/24
       static routers=xxx.xxx.xxx.xxx
       static domain_name_servers=xxx.xxx.xxx.xxx
interface wlan0
       static ip_address=xxx.xxx.xxx.xxx/24
       static routers=xxx.xxx.xxx.xxx
       static domain_name_servers=xxx.xxx.xxx.xxx
Apache2
Once updated, and assigned an IP you can setup the web server
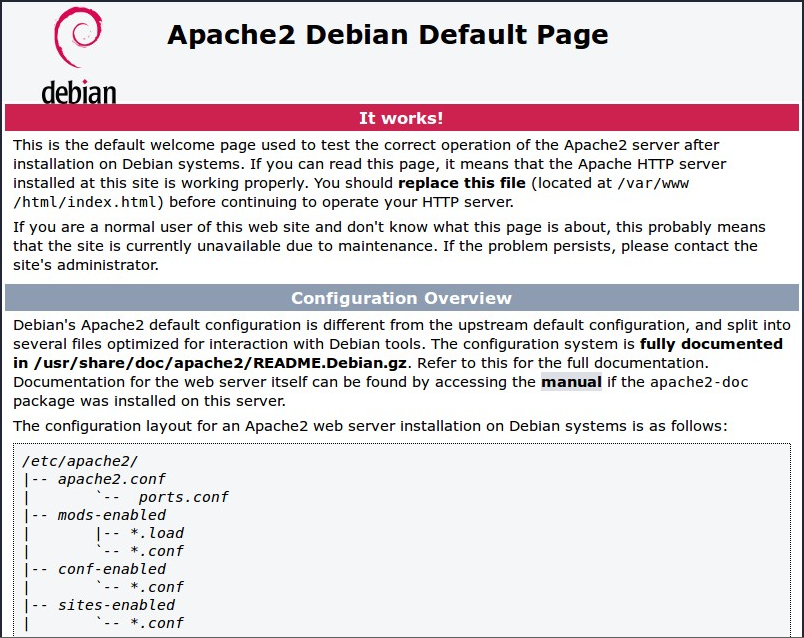
sudo apt install apache2 -yOnce installed, browse to the IP address of the pi and you should see the Debain default web page.
If you want to change the port that the web server is working on edit the ports.conf file in /etc/apache2, and the 000-default.conf file in sites-available,
PHP
To install php run the following command
sudo apt install php libapache2-mod-php -yYou can check the install worded by creating a phpinfo page
sudo nano /var/www/html/phpinfo.phpwith the following code
<?php phoinfo(); ?>
Congratulations, you now have a basic web server up and running on your pi.
If you intend on using a database with PHP you need to install the connector:
sudo apt install php-mysqlDatabase
Many websites are dynamic websites, and run on a database. Some sites run MySQL, but many sites are now using MariaDB. Install mariaDB with the following command:
sudo apt-get install mariadb-serverMariaDB will configure itself during installation. You then need to secure the install with the following:
sudo mysql_secure_installationSet a password and answer ‘y’ for all the questions.
You can now log into the mysql database
sudo mysql -u root -pYou need to create a database, and a user to interact with that database. Use ‘CREATE DATABASE’ and the database name e.g. website
CREATE DATABASE website;Next create a user by running the following command, change the ‘user’ and the ‘password’ to suit your needs.
CREATE USER 'user'@'localhost' IDENTIFIED BY 'password';The give the new user access to the database you created earlier
GRANT ALL PRIVILEGES ON website.* TO 'user'@'localhost';Finally to allow the new user access to the database, you need to flush the priviledges. Do this with the following command
FLUSH PRIVILEGES;PHPMyAdmin
Install PHPMyAdmin on the pi with this command:
sudo apt install phpmyadminPHPMyAdmin will then install on your pi. There are various configuration steps needed to setup PHPMyAdmin. When prompted which type of webserver you want to run PHPMyAdmin on choose ‘apache2’.
Now you need to configure PHPMyAdmin for your MySQL server.
You will need to specify a password for PHPMyAdmin to interact with your MySQL database – choose a strong password, and one that is different to the root password you set earlier.
PHPMyAdmin will by default block access to the MySQL database. If you didn’t create a user earlier, do so now.
To access PHPMyAdmin through your wesbite, you need to edit the ‘Apache2.conf’ file and add the PHPMyAdmin config to the bottom of the file:
Include /etc/phpmyadmin/apache.confNow restart Apache2.
sudo service apache2 restartYour webserver is now up and running. You can see how I installed WordPress in the next post.